A Surround Controller for your Trackpad & Magic Mouse

In the latest release of AudioSwift version 2.3.6 Beta, I added a new option to use the trackpad or the touch surface of the Magic Mouse, as a Surround Controller for Pro Tools and Logic Pro. This update is free for all users and I wrote guides to set it up. Click the links below to download.

If you’re new to AudioSwift, it’s an app for macOS that transforms your trackpad and the touch surface of a Magic Mouse into MIDI controllers. By taping the trackpad with a four or five finger tap gesture, or by pressing a hotkey for the Magic Mouse, we activate AudioSwift to send MIDI using touches on the surface of the device. After we finish, we press the Esc key.

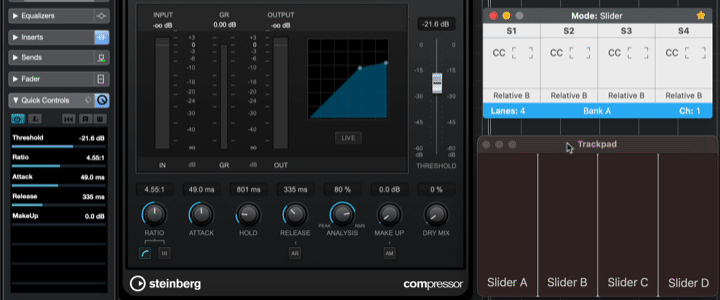
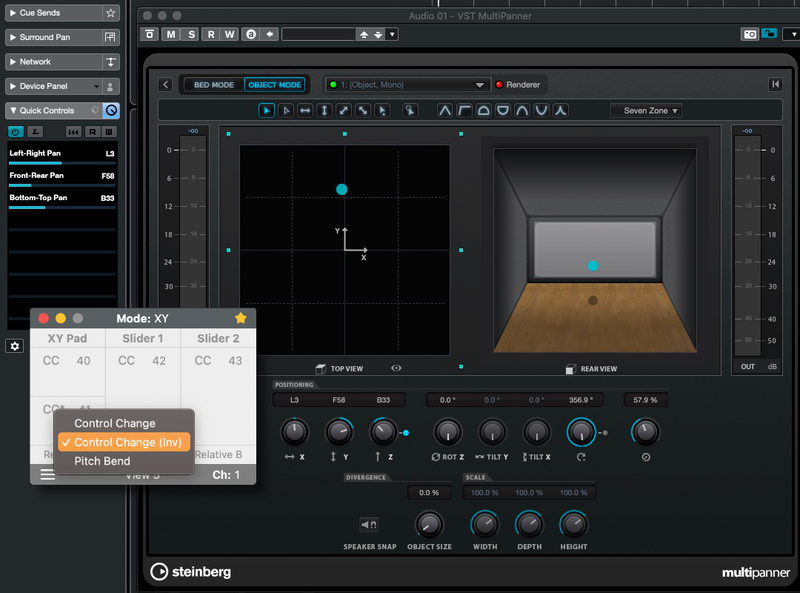
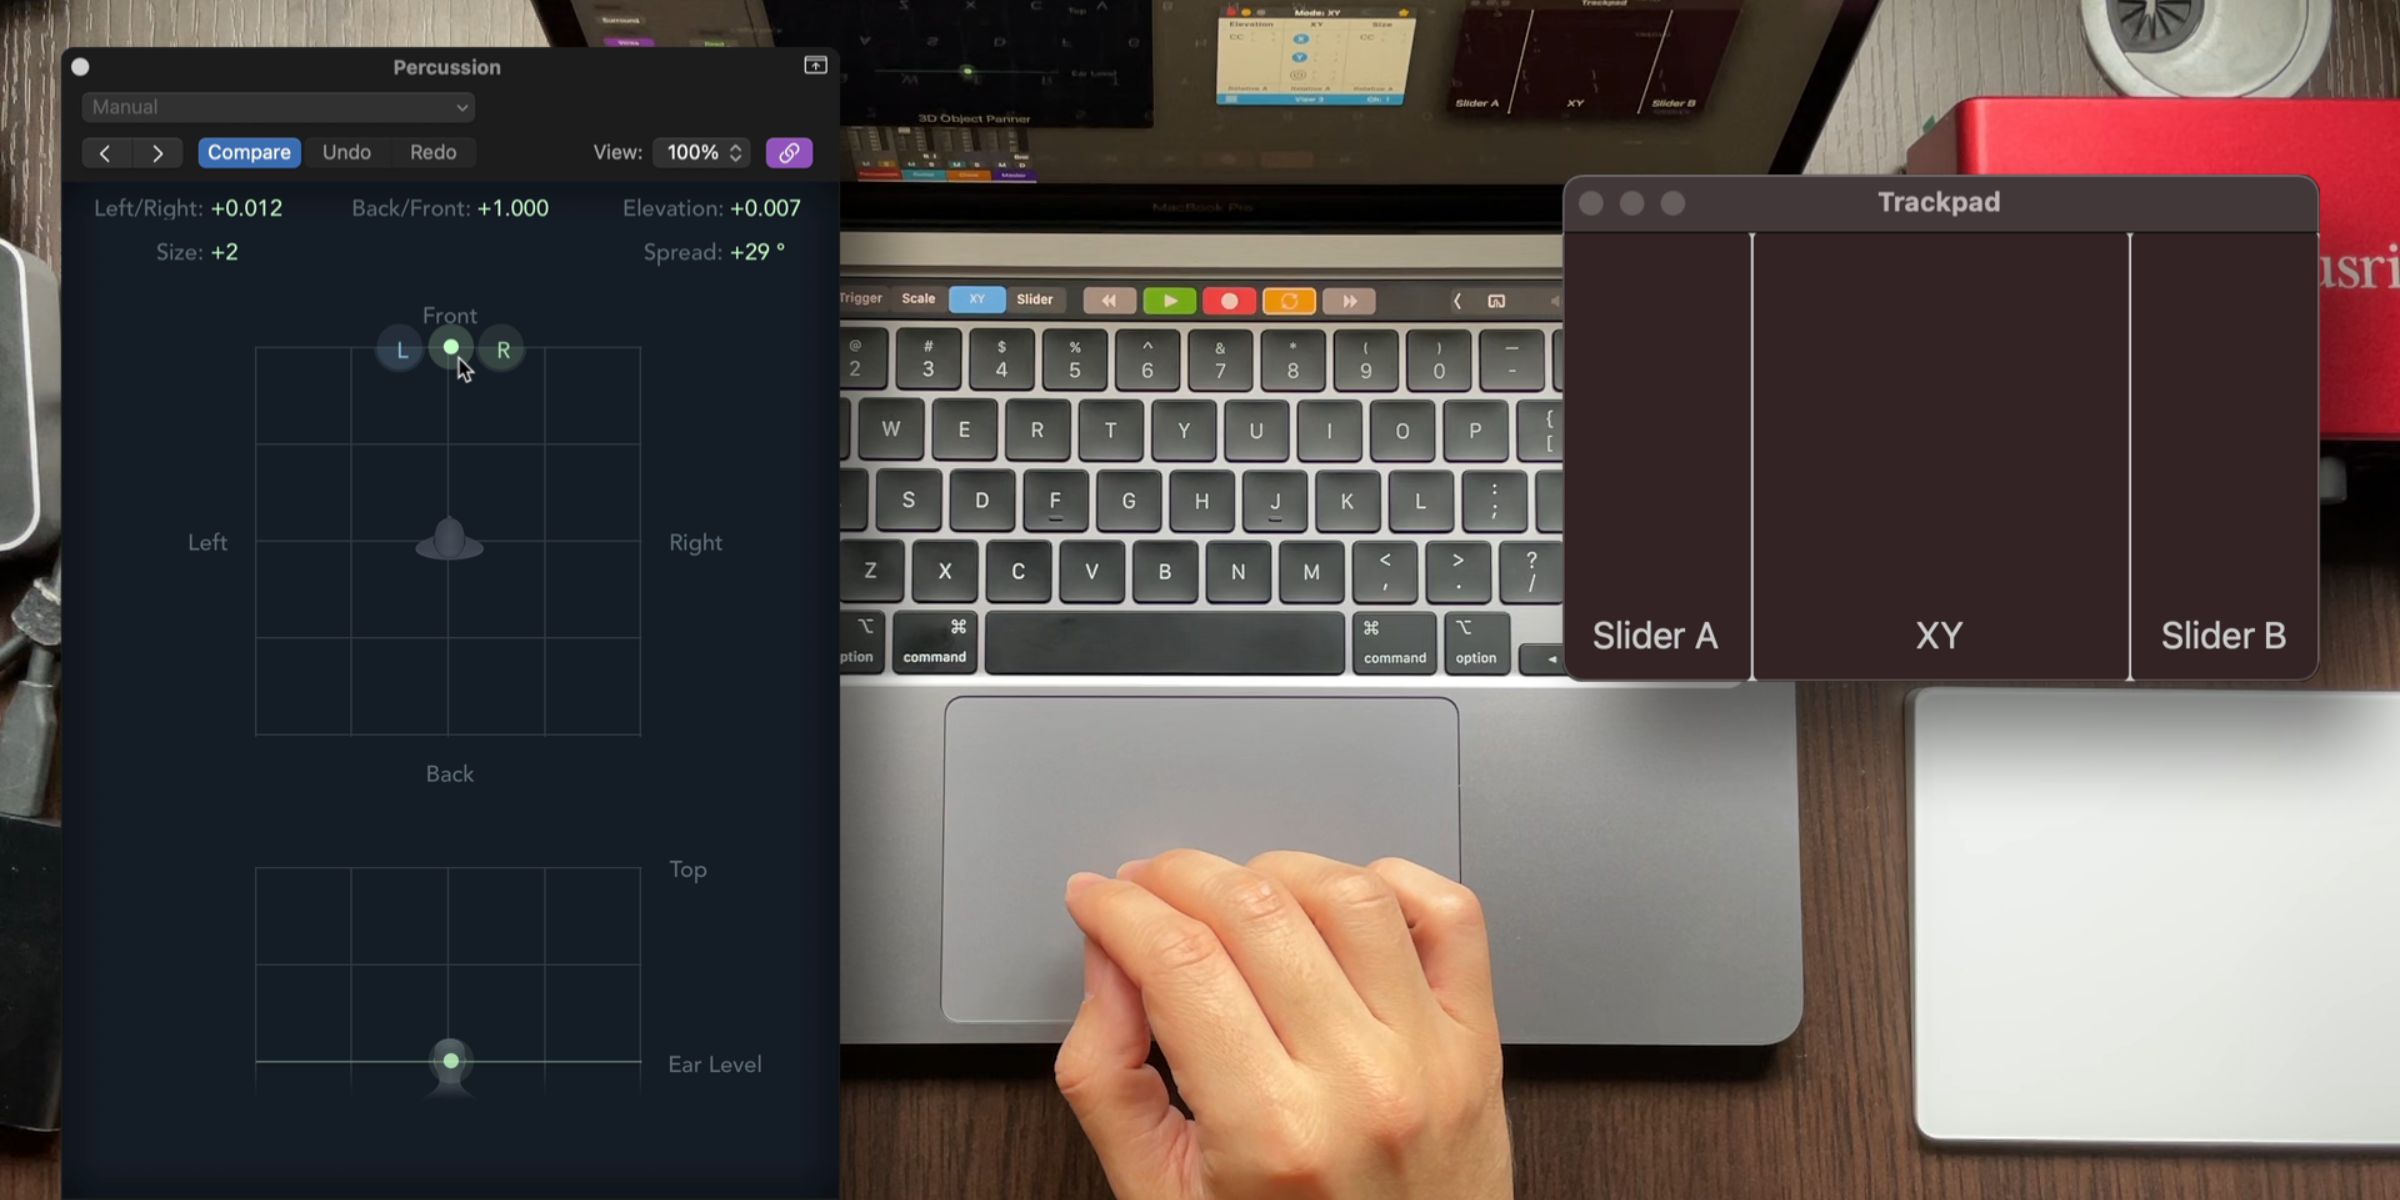
AudioSwift comes with different controller modes and tools we can use for mixing, add expression to virtual instruments, make beats, MPE and more. One of these controller modes is the XY Mode, and now it has the option to set a trackpad or Magic Mouse as a wireless touch controller for the surround panner in Pro Tools and Logic Pro, to speed up the mixing workflow. We’ll work with different views for the trackpad and Magic Mouse via key shortcuts depending on the parameters we need to control.

Pro Tools

With Pro Tools we set AudioSwift in the Peripherals section as a SurroundPanner MIDI controller. All parameters in the surround panner can be controlled from the trackpad and Magic Mouse except Height and Size. This is due to a limitation with the SurroundPanner protocol that AudioSwift uses to connect with Pro Tools.

Here is a video showing an overview of how it works with Pro Tools and a Magic Mouse.

Logic Pro

With Logic Pro we use a third-party driver to map most of the parameters of the 3D Object and Surround Panner. We also need to manually assign some parameters in the Controller Assignments window in Logic Pro to complete the configuration.

Here is a video using a Magic Mouse as the controller in Logic Pro.

I want to thank AudioSwift users Yushu Bao and Curtis Macdonald for their feedback and testing this new feature.

If you want to try it out, click the links below.

Get AudioSwift Beta

Download User Guides

Quick Controls in Cubase

Quick Controls in Cubase give instant access to 8 different parameters in tracks, effects or virtual instruments using a MIDI controller. In this tutorial, I’m going to show you how to set up AudioSwift with Cubase and access these Quick Controls remotely from your trackpad.

AudioSwift Configuration

In the AudioSwift Console, select the Slider Mode. Decide which CC numbers you want to assign as Quick Controls for Cubase and set each slider with a CC. In this example, I’m going to use CC 40 to 47. Since we can only have up to 4 sliders at a time in the trackpad, we use another bank to complete the 8 sliders. Use key shortcuts Z, X, Comma and Period to change between banks. The Console looks like this:

AudioSwift Console

As we can see in the Console, I changed the formats of every slider to Relative B. We’re going to use relative MIDI for the Quick Controls, specifically 2’s Complement. This way we can use the same sliders to control different parameters, without messing up with the initial value on screen.

Cubase Configuration

Go to Cubase > Studio > Studio Setup. Then go to Remote Devices and click Track Quick Controls (not VST Quick Controls). For the MIDI input, select AudioSwift 3 port. For each Quick Control, type the same CC numbers we set in AudioSwift (40 to 47) under the column Address. Also click each one under the column Flags and make sure both Receive and Relative are checked. As I mentioned before, we are going to work with Relative MIDI. See image:

Cubase > Studio > Studio Setup > Remote Devices > Track Quick Controls

Insert a plugin in the track. I’m using  Compressor as an example. Open the Inspector and go to Quick Controls. We’re going to map the plugin knobs to each Quick Control (see image below). Click the QC Learn Mode (orange button below), select the first of the 8 slots, and then click a knob in the plugin. It will be mapped. Go to the next slot and repeat the process with another knob.

Inspector > Quick Controls Mapping

After mapping all the knobs we need, disable the QC Learn Mode button. Click the triangle in the top right corner of the plugin to uncheck Always on Top. This will prevent the plugin window to disappear when AudioSwift is activated. Another way is to go to Cubase > Preferences > VST > Plug-ins and uncheck Plug-in Editors “Always on Top”. This will apply to every plugin that you insert.

Now let’s try the setup. Tap the trackpad with a four/five finger tap gesture to activate AudioSwift and start moving the sliders. The corresponding knob should move. Press Esc when you finish.

Controlling Quick Controls from the Trackpad

Differences between Track and VST Quick Controls

Cubase offers Track Quick Controls for general audio plugins and VST Quick Controls for virtual instruments. You set up a different group of eight CCs for each one in Cubase > Studio > Studio Setup > Remote Devices. 

The VST Quick Controls has multiple pages (banks) to use the same eight CC defined to control more parameters in the VSTi. The setup for each plugin is set in the Remote Control Editor. You go to the VSTi panel, look for the plugin, right click and select Remote Control Editor. Map the parameters for the plugin using the Learn button in the top right of the Editor. See image:

Remote Control Editor


What you change in the Editor is applied to the plugin in every project and track you use it. Unfortunately, in Cubase there is no way to remotely change the pages other than go to the panel and click it with the mouse pointer (see above).

The Track Quick Controls don’t have pages or banks. The only way to call a setup for a particular plugin is by going into the Inspector and look for a preset in the Quick Control that was previously saved. Or save the track settings and call it.

But here is the tricky part where Track and VST Quick Controls merge. If you have a VSTi in the track, you can call the parameters of the first page of the VSTi plugin by clicking Get Default QCs from plug-in button in the inpector. See third button in the image:

Get Default QC’s from Plug-in
It puts the same parameters from the Page 1 in the Remote Control Editor for the VSTi plugin to the Track Quick Controls. Now you can control those parameter with either the CCs from Track Quick Control or the CC’s  from VST Quick Control. You can use this feature or just have the Track and VST Quick Controls separated.

The VST MultiPanner & AudioSwift

You can use the trackpad as a surround controller by mapping the parameters from the VST MultiPanner to Quick Controls . Then in AudoSwift, select the XY Mode and use a view with an XY pad and sliders. Set the CCs for the X axis, the Y axis and the rest of parameters mapped. For the Y axis you should change to Control Change (Inv) or otherwise when you use the controller, the Front-Rear parameter will move in contrary motion. See image:

VST MultiPanner & AudioSwift

Trackpad Controller for Dolby Atmos in Logic Pro 10.7

Dolby Atmos Controller

The new version of Logic Pro 10.7 comes with support for Dolby Atmos. In this video tutorial, we’ll go through the steps on how to use a trackpad with AudioSwift as a touch controller for the 3D Object Panner. We’re going to use the XY Mode and map the parameters with Logic Pro’s Controller Assignments window.

If you’re new to Dolby Atmos, I put some additional links below to get you started with immersive audio.

Links in this tutorial: