When AudioSwift is on, it becomes the key app on screen, freezing the mouse pointer and receiving all keyboard inputs. The default keyboard commands used on a DAW won’t work because the DAW isn’t in front. AudioSwift comes with a couple of shortcuts as a workaround, to trigger basic commands in a DAW like record, play and set automation modes when the Console is activated. These shortcuts work with all controller modes, but in order to use them, AudioSwift should be configured first in Mixer Mode within your DAW.
Transport Controls
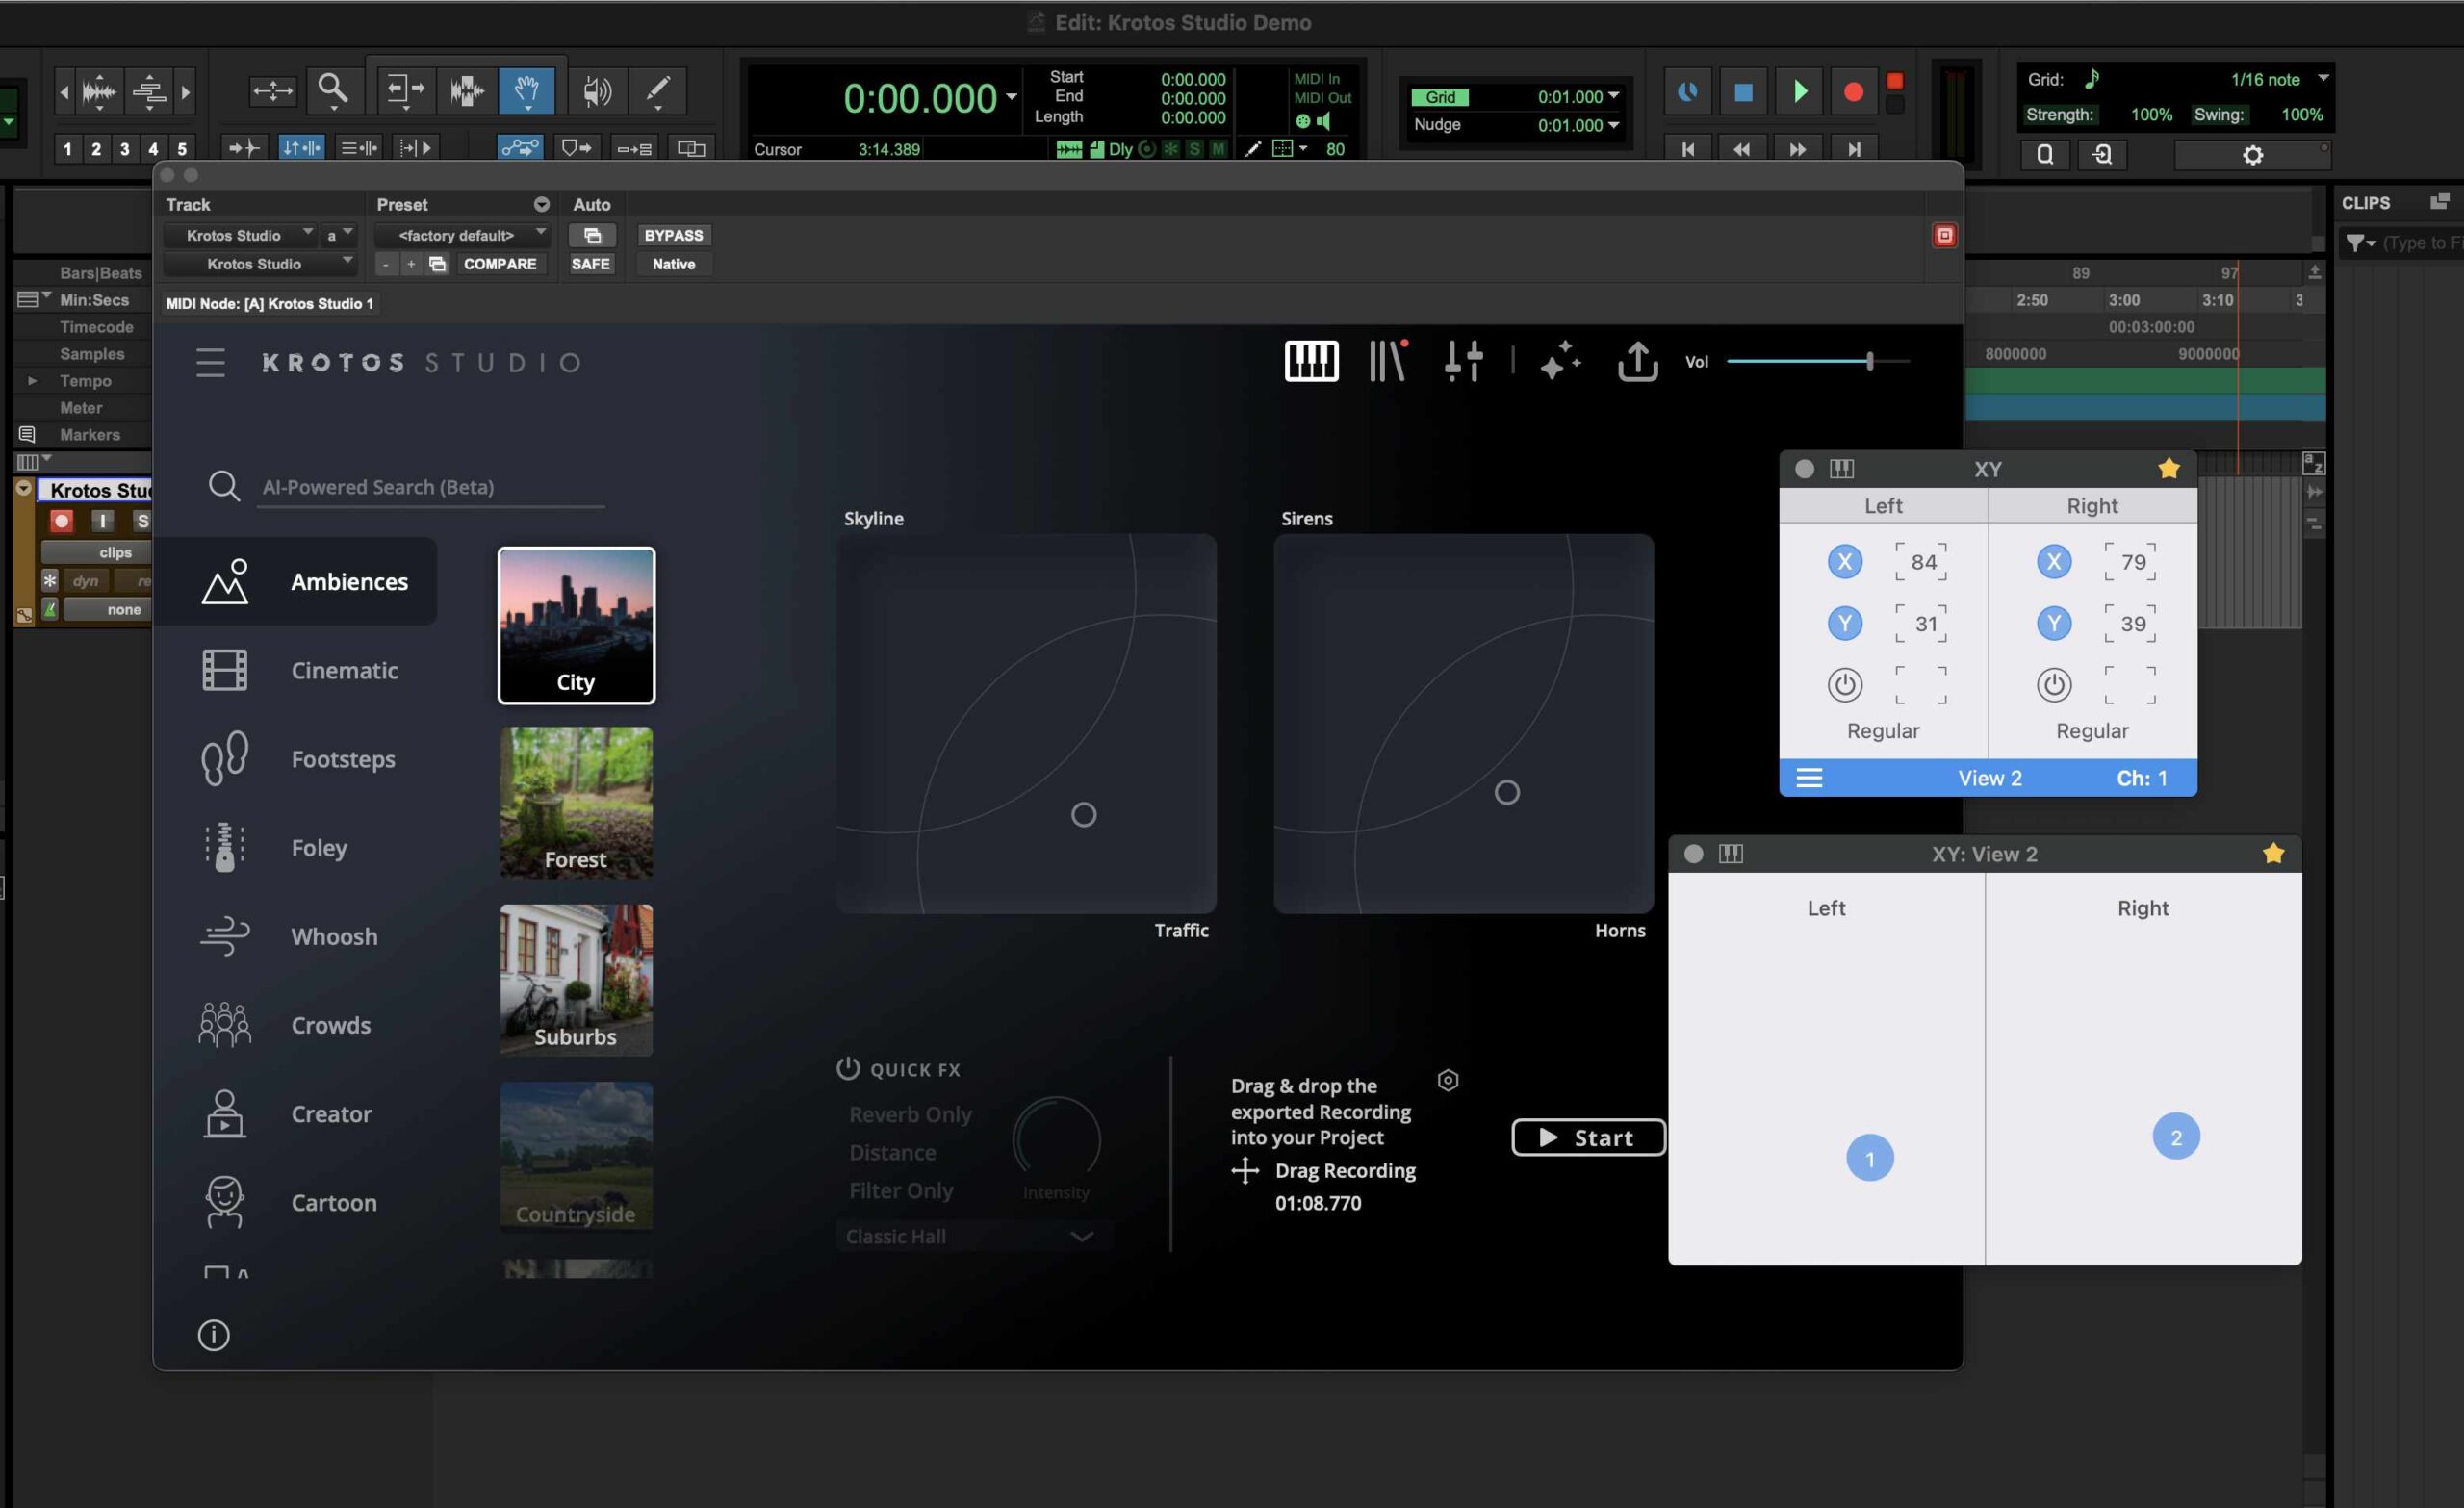
The Mixer Mode lets the user control faders, panning and sends when it’s time to mix a project. It uses the Mackie MCU and the HUI protocols to communicate with the DAW. AudioSwift sends the respective MIDI messages that the DAW transforms into commands. The steps to configure the DAW are explained in the User Guide on page 12 that you can download in our tutorial section.
Once AudioSwift is properly set up, the following key shortcuts will work for transport control when the Console is on. If users have a MacBook Pro with Touch Bar the transport controls will be also displayed on it.
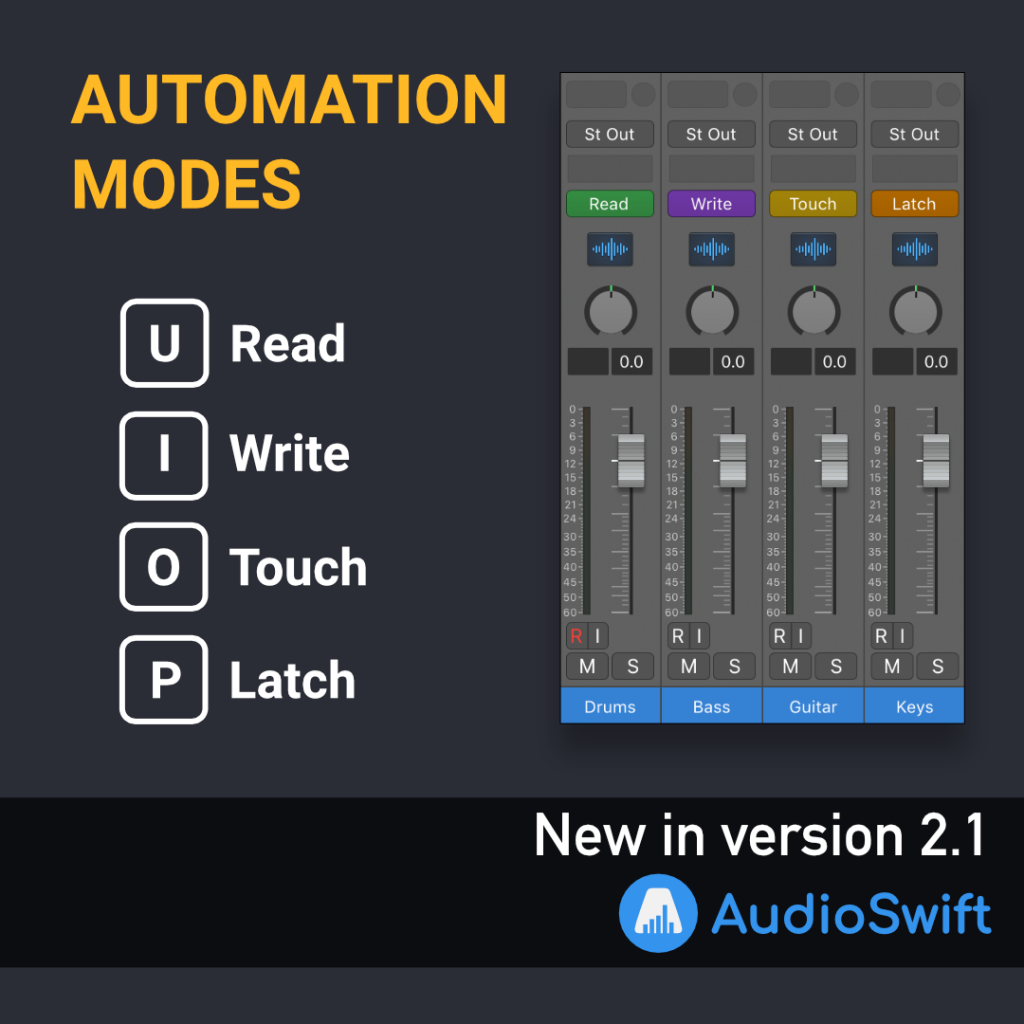
Automation Modes
When writing automation on a track you can set a different mode by clicking each track to Read, Write, Touch and Latch, or you can also use the keys U, I, O and P when the Console is on. However, these shortcuts are only available in Logic Pro, Studio One and Reaper.
New in AudioSwift 2.1
The recent AudioSwift update comes with two new ways to turn off AudioSwift automatically without the need of using the ESC key. One of them reads the playhead state to turn off the Console. Go to Preferences > Mixer Tab and enable Turn AudioSwift off when play head stops.
The other way is to turn off the Console when no fingers are touching the trackpad within a second. Enable this feature in Preferences > General Tab > Turn AudioSwift off automatically.